"Many drops make a bucket, many buckets make a pond, many ponds make a lake, and many lakes make an ocean."
Percy Ross
We kick of the summer projects with the first of many microscope activities. I just bought Maddie a little battery powered microscope set. No particular bells and whistles, but a lot of things to get a kid going. For about $25 this kit came with a small microscope, pre-made slides, blank slides and covers, labels, specimen jars, a pipette, some tools like a spatula, and test tubes. Although I have an English degree, my biology and bio lab classes were among my favorite. I enjoyed the field work the most and decided examining pond water would be the best place to start. Pond water has living, moving organisms in it. Pond water is full of wonder! This type of specimen also gave Maddie her first shot at preparing a temporary wet slide (and she did a pretty good job!). Now that she knows how we can both look forward to days of scraping the insides of our cheeks for cells or running for the blank slide when one of us cuts ourselves. It's going to be a great summer.
Step One: Find a pond and take a sample
Easier said than done if you live in a city. We're fortunate that we have a few ponds in our area. Pond water is not the same as puddle or standing water. Ponds are ecosystems. You might be able to try water from a rain puddle, but you probably won't see much. Even if you have to drive a little out of the way, use pond water. No two ponds are alike, but they will all have things in common such as algae and single celled organisms. To collect pond water make sure you have a jar that has a screw lid. Maddie's kit came with a small pipette and a jar. If you don't have a pipette, dip any bottle that has a lid into the pond to collect the water. Try to avoid spots that have any garbage. Don't fall in!


Step Two: Make a wet slide
This isn't very hard at all and little fingers can manage this part of the activity. I will caution you, if you use real glass slides and/or real glass covers, please prepare the slides yourself. Glass slides are very sharp on the edges and can also crack easily. There are blank plastic slides available for little cost and it is a better choice if your child is under 10. And remember to label that specimen bottle right away! There is no need to label a temporary wet slide. You will use it and discard or wash it.
Date
Place
Contents

When you get home, get a clean blank slide. Set it down on the table. Using your pipette, take a very small drop of water out of your specimen bottle and drop it onto the center of the blank slide.

From the corner, slide the cover down onto the drop of water. Make sure to go slowly to avoid making air bubbles. If you do get an air bubble you can gently work it out by moving the slide cover around a bit. If it doesn't work itself out don't worry about it. You'll just have to remember it's there when you look at the slide and wonder why there is a whole section with nothing in it! Don't ever push down on your cover. You don't want to crush what is underneath. While you really won't crush anything in pond water (everything is so tiny), it's just a good habit to get into, as you may eventually want to look at bigger specimens. Remember...if you use a glass slide cover, it will break from even the slightest bit of pressure.

Step Three: Using your microscope
Before you start using your microscope you should get to know it. Microscopes have many moving parts and many of these parts are delicate. Many of these parts are often breakable even on a child's microscope (though I'm certain it would take a bit more force). Below is a diagram of the parts on standard microscopes. All microscopes have the same parts, the only differences being how many eyepieces (some are for one eye and some use both eyes) and the different objective lens magnifications (not all will be the same). In most instructions booklets the terms you should be most familiar with are "stage," "objective lens," and "focus" knob.


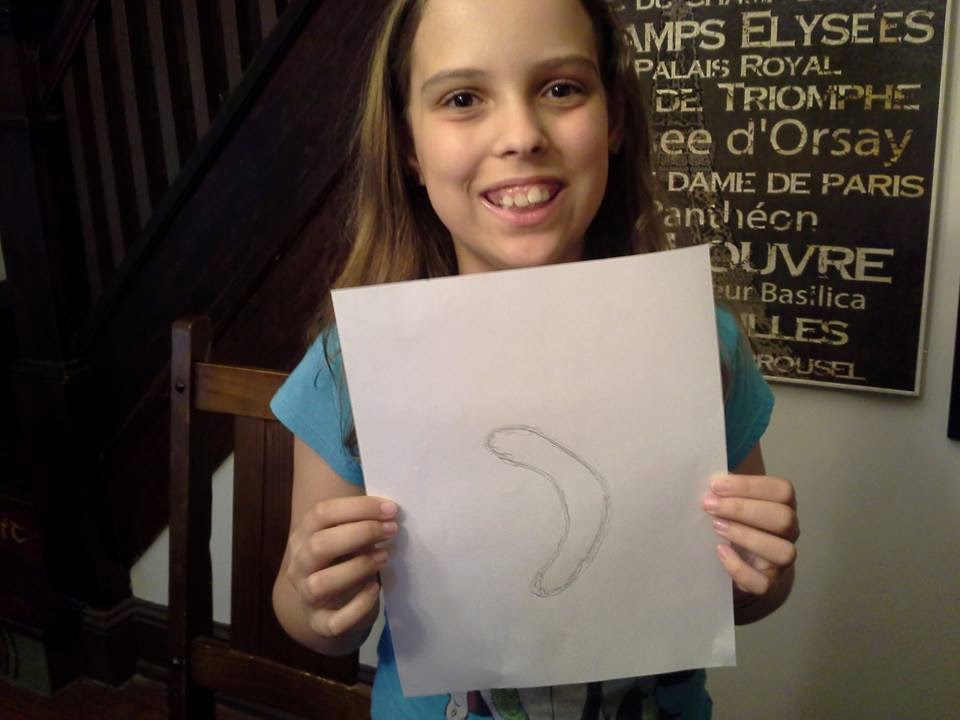
Step Four: Journal your discoveries!
What fun is looking at little alien living creatures if you forget what they look like! In my bio class I had the best time drawing a little green disk looking organism that was probably one of the most beautiful things I had ever seen. If you are going to look at many different slides over the summer get a small notebook. Give your child colored pencils and crayons. Sometimes an object will stay put (like a string of plant life) and you can get more detailed drawings. Sometimes the object will be this fast little blob that skates through your field of vision and your child has to rely upon a quick memory. If you don't know what your organism is name it yourself! At the end of the summer go over your journal and look at all the things you saw in a world too small for the human eye to see without help.
No comments:
Post a Comment